

Start your journey here
Kids Magic Salt Dough- Gratitude Christmas Ornaments for a Mindful Holiday
All activities should be supervised by an adult.
Share


What you will need for this Christmas Magic Salt Dough:
Let's start with the star of the show: the gratitude salt dough recipe. Gather these simple ingredients, all conveniently available on Amazon:
- 2 cups all-purpose flour
- 1 cup salt
- 1 cup warm water
- Rolling pin
- Cookie cutters (Christmas-themed, of course!)
- food coloring
- glitter
- almond extract
- Ribbon or twine for hanging
1. Mix it all together until smooth.
Creating the heart of your gratitude salt dough ornaments is as easy as mixing a cup of cocoa on a chilly winter's day. In a bowl, combine 2 cups of all-purpose flour, 1 cup of salt, and 1 cup of warm water, glitter and almond extract. If you are making multiple coloured doughs leave the food coloring until the next step. Smelling the delicious almond scent as everything mixes together is like a cozy hug for your ingredients. While I prefer the ease of my trusty stand mixer to effortlessly combine the ingredients for the gratitude salt dough, fear not, as a food processor with a dough attachment or a bit of good old-fashioned hand mixing can work wonders too! Stir them together with a spoon, or, for some hands-on fun, dive in with your fingers—there's something oddly therapeutic about feeling the texture transform. Keep at it until the mixture comes together like a harmonious holiday tune. You're aiming for that perfect smoothness, like the first snowfall under a streetlight. And there you have it—a magical dough ready to shape into your family's gratitude-filled Christmas masterpieces!
2. Knead your colouring into the dough.
Now comes the festive transformation of your gratitude salt dough into a vibrant spectrum of holiday colours. Divide your dough into manageable portions, like slices of a delicious holiday pie. Creativity takes center stage in this step—pick classic holiday colours that make your heart sing. Red and green for a traditional touch, or perhaps gold and silver for a touch of elegance. The choice is yours, and it's the perfect opportunity to infuse your ornaments with a personalized flair that mirrors your family's unique holiday spirit.
As you embark on this colourful adventure, consider donning disposable gloves, especially if little hands are eager to join the fun. Not only does it prevent a temporary tie-dye effect on fingers, but it also makes the process a breeze to clean up. Think of it as your holiday crafting superhero cape, ready to protect against accidental splashes of festive hues.
Now, with gloves on and colours chosen, knead the food colouring into each portion of dough with your hands. It's like sculpting a magical palette, watching the dough transform into a canvas of holiday joy. Ensure the colour is evenly distributed, like a winter sunset painting the sky in a seamless gradient. With each knead, you're not just crafting ornaments but creating little bursts of holiday happiness that will soon dance on your tree.
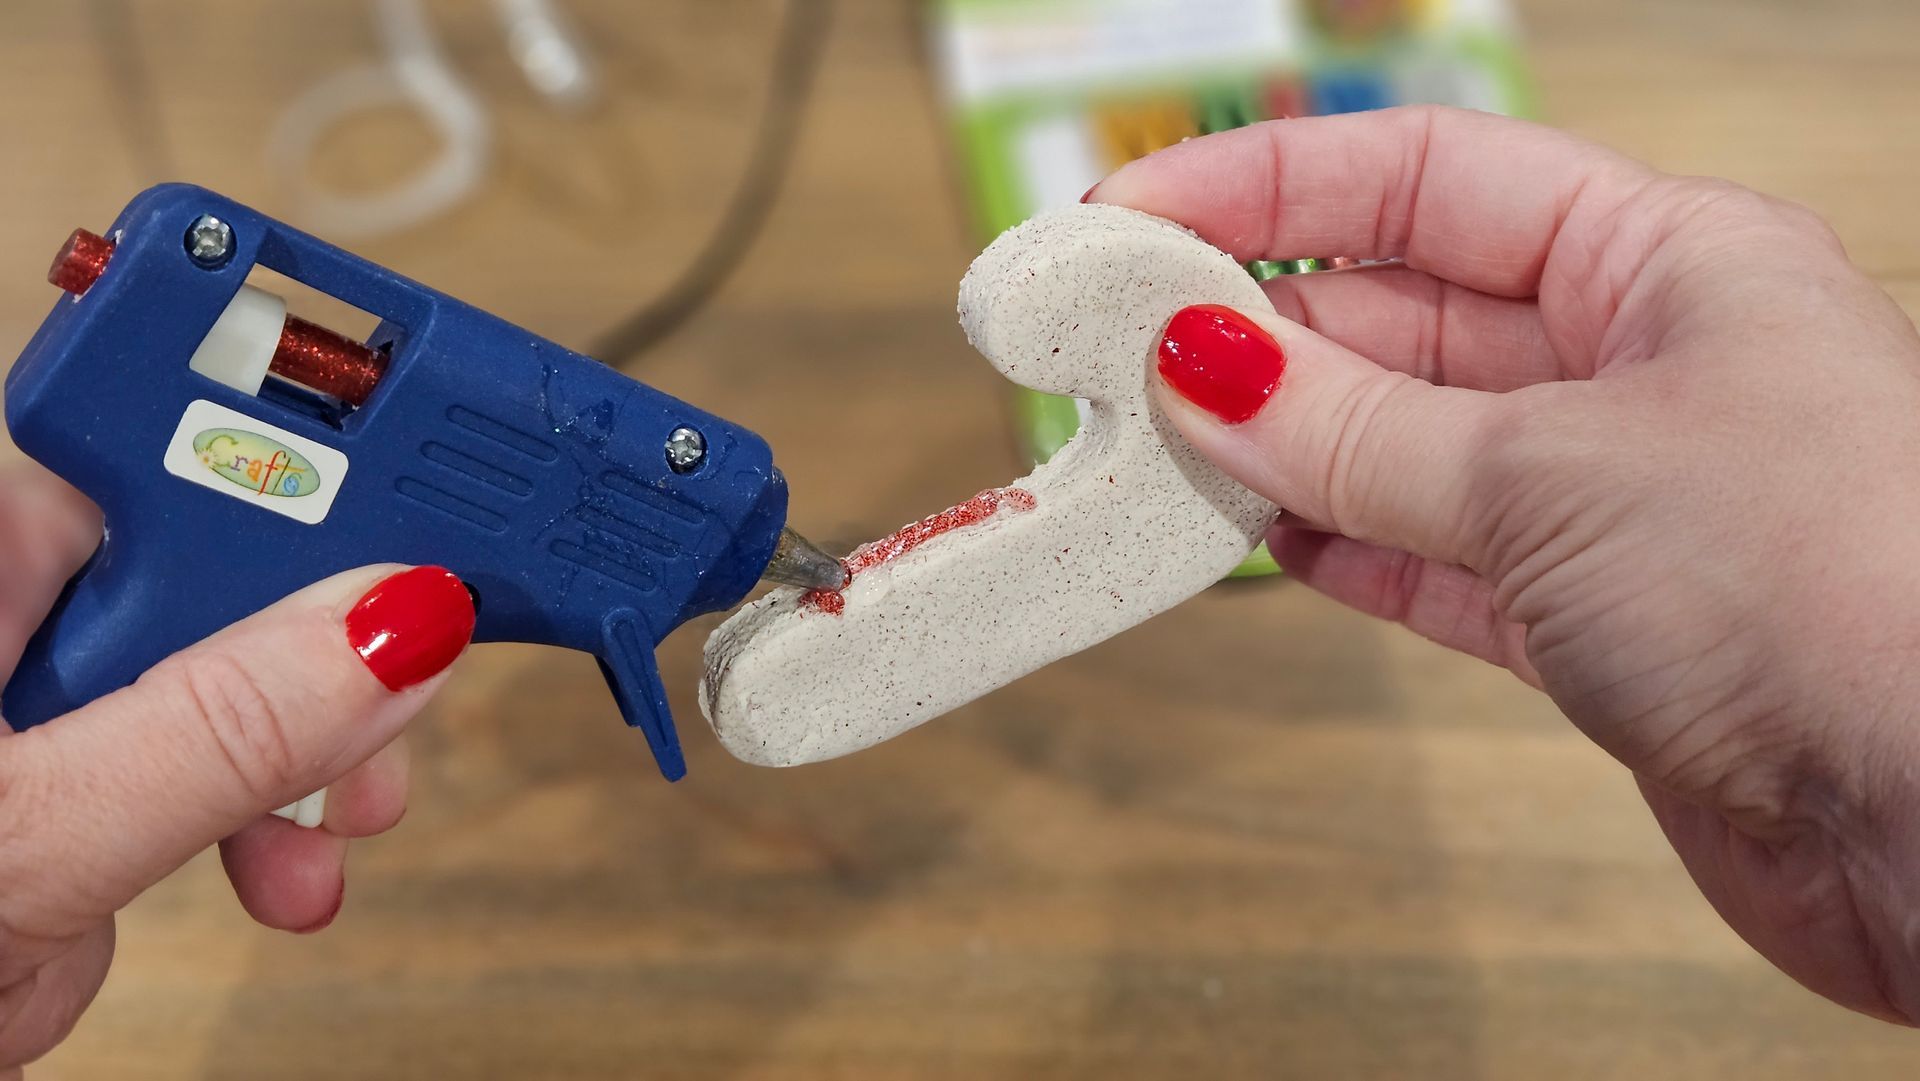
3. Roll and cut your ornaments out! ( Don't forget to make a hole for your ribbon!)
Once your gratitude salt dough has reached the perfect consistency, it's time to dive into the delightful process of rolling it out and bringing your favourite Christmas shapes to life. Picture your kitchen as a cozy holiday workshop and your rolling pin as the wand that conjures festive magic. Sprinkle some flour to prevent sticking, then roll the dough to your desired thickness. The countertop becomes a canvas, ready to be adorned with the classic symbols of the season—whether it's jolly Santas, twinkling stars, or adorable reindeer.
The genuine enchantment begins as you cut out your chosen shapes with Christmas-themed cookie cutters. Each press is a moment of creation, turning the dough into miniature works of art that will soon adorn your tree. But hold on, the holiday magic doesn't end there! Remember to make a small hole at the top of each ornament, creating the perfect portal for them to hang from the branches. It's like giving each creation its key to the holiday festivities, ensuring they take their pride in place on the tree.
Creating a hole for hanging is more than just a practical step; it's a finishing touch that elevates your ornaments to festive perfection. It's like adding the final note to a beloved holiday tune, turning your creations into timeless treasures ready to dance in the holiday glow. So, as you roll, cut, and hang, savour the joy of turning humble dough into a symphony of holiday magic.
4. Let them dry.
The genuine enchantment begins as you cut out your chosen shapes with Christmas-themed cookie cutters. Each press is a moment of creation, turning the dough into miniature works of art that will soon adorn your tree. But hold on, the holiday magic doesn't end there! Remember to make a small hole at the top of each ornament, creating the perfect portal for them to hang from the branches. It's like giving each creation its key to the holiday festivities, ensuring they take their pride in place on the tree.
Creating a hole for hanging is more than just a practical step; it's a finishing touch that elevates your ornaments to festive perfection. It's like adding the final note to a beloved holiday tune, turning your creations into timeless treasures ready to dance in the holiday glow. So, as you roll, cut, and hang, savour the joy of turning humble dough into a symphony of holiday magic.
With your festive shapes now cut and adorned with the magic of gratitude, it's time to usher them into their final transformation in the oven. Preheat the oven to a cozy 200°F, creating a holiday haven for your creations to blossom. It's like sending your ornaments to their spa day, where they'll emerge refreshed and thoroughly dried, ready to sparkle on the tree. The low and slow baking ensures a thorough drying process, preserving the details of your handcrafted masterpieces.
While I opt for the convenience of a dehydrator for this step, the oven works just as well, making this a versatile recipe for all crafting spaces. Arrange your ornaments on a baking sheet, creating a festive assembly line ready to dance in the gentle heat. Bake for about 2-3 hours or until they are thoroughly dried and hardened. It's a bit like the anticipation of waiting for cookies to bake; only this time, you're creating timeless treasures that will capture the magic of the holiday season.
As your home fills with the comforting aroma of baking salt dough, know that each minute in the oven is closer to unveiling your handmade wonders. The careful drying process ensures that your ornaments will withstand the test of time, becoming cherished keepsakes that bring joy to your holiday celebrations year after year. So, whether it's the oven or a trusty dehydrator, the final bake is the crescendo in the symphony of crafting, turning humble ingredients into holiday magic.
5. Adorn them with gratitude.
Now that your gratitude-infused ornaments have completed their spa day in the oven or dehydrator, it's time to add the finishing touch—the heartfelt expressions of gratitude. Equip yourself with a fine-tipped marker, transforming each ornament into a canvas for words that carry the season's warmth. Take a moment to reflect on what you and your loved ones are thankful for, and let those sentiments flow onto the dried salt dough. It's like giving your ornaments a voice, allowing them to whisper gratitude with every twinkle on the tree.
For little ones eager to participate in this joyful activity, offer them prompts that spark their imaginative minds. Ask them to think about the people, places, or experiences that bring joy to their faces. Perhaps prompt them with questions like, "What's your food you like to eat?" or "Who is someone you're thankful to have in your life?" These prompts can act as magical keys, unlocking the doors to their hearts and inspiring gratitude statements that are as unique as they are precious.
As you guide your children through this creative process, witness the magic unfold as their gratitude takes shape on the ornaments. From the innocence of a child's perspective to the depth of an adult's reflection, each statement becomes a tiny beacon of gratitude, turning your tree into a visual symphony of thanks. So, grab that marker and let the gratitude flow, creating ornaments that adorn your tree and serve as reminders of the precious moments that make life truly extraordinary.
6. Begin new traditions!( It's time to hang them! )
Gather the family around the tree, each child holding their personalized gratitude ornament like a treasure in their hands. The room is filled with anticipation and joy as they carefully hang their creations on the branches. Now comes the magical moment—sharing what each ornament says and why it holds a special place in their hearts. The tree becomes a living tapestry of gratitude, each ornament a unique thread woven with sentiments of love, kindness, and appreciation. As each child shares the words written on their ornament, a symphony of stories unfolds, painting a vivid picture of the blessings that make their hearts swell with gratitude. It's a heartwarming tradition that decorates the tree and infuses the holiday season with the true spirit of thankfulness.
Open up the conversation!
The holiday season is the perfect time to open up meaningful conversations with children about the profound concept of gratitude. Start by creating a cozy atmosphere—a warm cup of cocoa, maybe some twinkling lights—and gather your little ones for a heart-to-heart. Begin by asking them simple questions like, "What makes you happy during the holidays?" or "What are some things you're thankful for in your life?" These queries act as gentle invitations for children to express their thoughts, allowing you to delve into discussions about the importance of appreciating what we have.
To guide your children toward a deeper understanding of gratitude, introduce the idea that it goes beyond just material possessions. Share examples of intangible gifts, like kindness, love, and compassion, that make the holiday season truly magical. You might ask, "Can you think of a time when someone was kind to you, and how did it make you feel?" or "What does it mean to show love and compassion to others, especially during the holidays?" These conversations help instill values that extend far beyond the festivities, emphasizing the significance of empathy and connection.
Encourage your children to express their gratitude not just through words but through actions. Suggest activities like making holiday cards for neighbors, sharing toys with those less fortunate, or even volunteering as a family. By involving them in these acts of kindness, you're not only teaching the true essence of gratitude but also fostering a sense of responsibility and compassion that will last a lifetime. Through these conversations and actions, the holiday season becomes a transformative journey of understanding and appreciating the richness of life beyond the glittering presents.

Angela Thibault is the creator of Satori Kid Club and the author and illustrator of children’s stories focused on emotional intelligence skills.

Additional Posts You Might Like!